


互換性
| 推奨 | 非推奨 | |
| 造形プレート | 常温プレート、高温プレート、テクスチャードPEIプレート | 工学プレート |
| ホットエンド | 全てのサイズ/素材 | / |
| 接着剤 | Bambu ビルドプレート用液体のり Bambu スティックのり |
/ |
PLA マットHEX Code対照表
| 色 | HEX Code | 表示 |
| アイボリーホワイト | #FFFFFF | |
| ラテブラウン | #D3B7A7 | |
| アッシュグレー | #9B9EA0 | |
| ライラックパープル | #AE96D4 | |
| サクラピンク | #E8AFCF | |
| マンダリンオレンジ | #F99963 | |
| レモンイエロー | #F7D959 | |
| スカーレットレッド | #DE4343 | |
| ダークレッド | #BB3D43 | |
| ダークブラウン | #7D6556 | |
| ダークグリーン | #68724D | |
| グラスグリーン | #61C680 | |
| アイスブルー | #A3D8E1 | |
| マリンブルー | #0078BF | |
| ダークブルー | #042F56 | |
| チャコール | #000000 |
RFIDによるインテリジェンスプリント
すべての印刷パラメータはRFIDに埋め込まれており、Bambu LabのAMS(自動材料システム)を通して読み取ることができます。
読み込んでプリント開始!面倒な設定作業は必要ありません。


| 推奨印刷設定 | |
| 印刷前の乾燥設定(送風乾燥炉) | 55 °C,8時間 |
| 印刷と容器の湿度の維持 | < 20% RH (密封、乾燥剤使用) |
| ノズル温度 | 190 - 230 °C |
| ベッド温度 (接着剤あり) | 35 - 45 °C |
| 印刷速度 | < 300 mm/s |
| 物理的特性 | |
| 密度 | 1.31 g/cm³ |
| ビカット軟化温度 | 63 °C |
| 熱たわみ温度 | 58 °C |
| 融点 | 163 °C |
| メルトインデックス | 39.4 ± 3.2 g/10 min |
| 機械的性質 | |
| 抗張力 | 30 ± 5 MPa |
| 破断伸び率 | 14.8 ± 4.2 % |
| 曲げ係数 | 2360 ± 250 MPa |
| 曲げ強度 | 53 ± 6 MPa |
| 衝撃強度 | 19.2 ± 3.7 kJ/m² |

ヒント
• PLAマットの乾燥はオプションです。推奨される乾燥条件は、ブラスト乾燥オーブンで55℃、8時間、プリンターのヒートベッドで75℃、12時間です。フィラメントの乾燥についてはこちらをご覧ください。WIKIのフィラメント乾燥カバーをご参照ください。
内容物

フィラメント×1 & 乾燥剤×1

Instructions*1 & Spool Sticker*1
パッケージ×1

フィラメントラベル×1

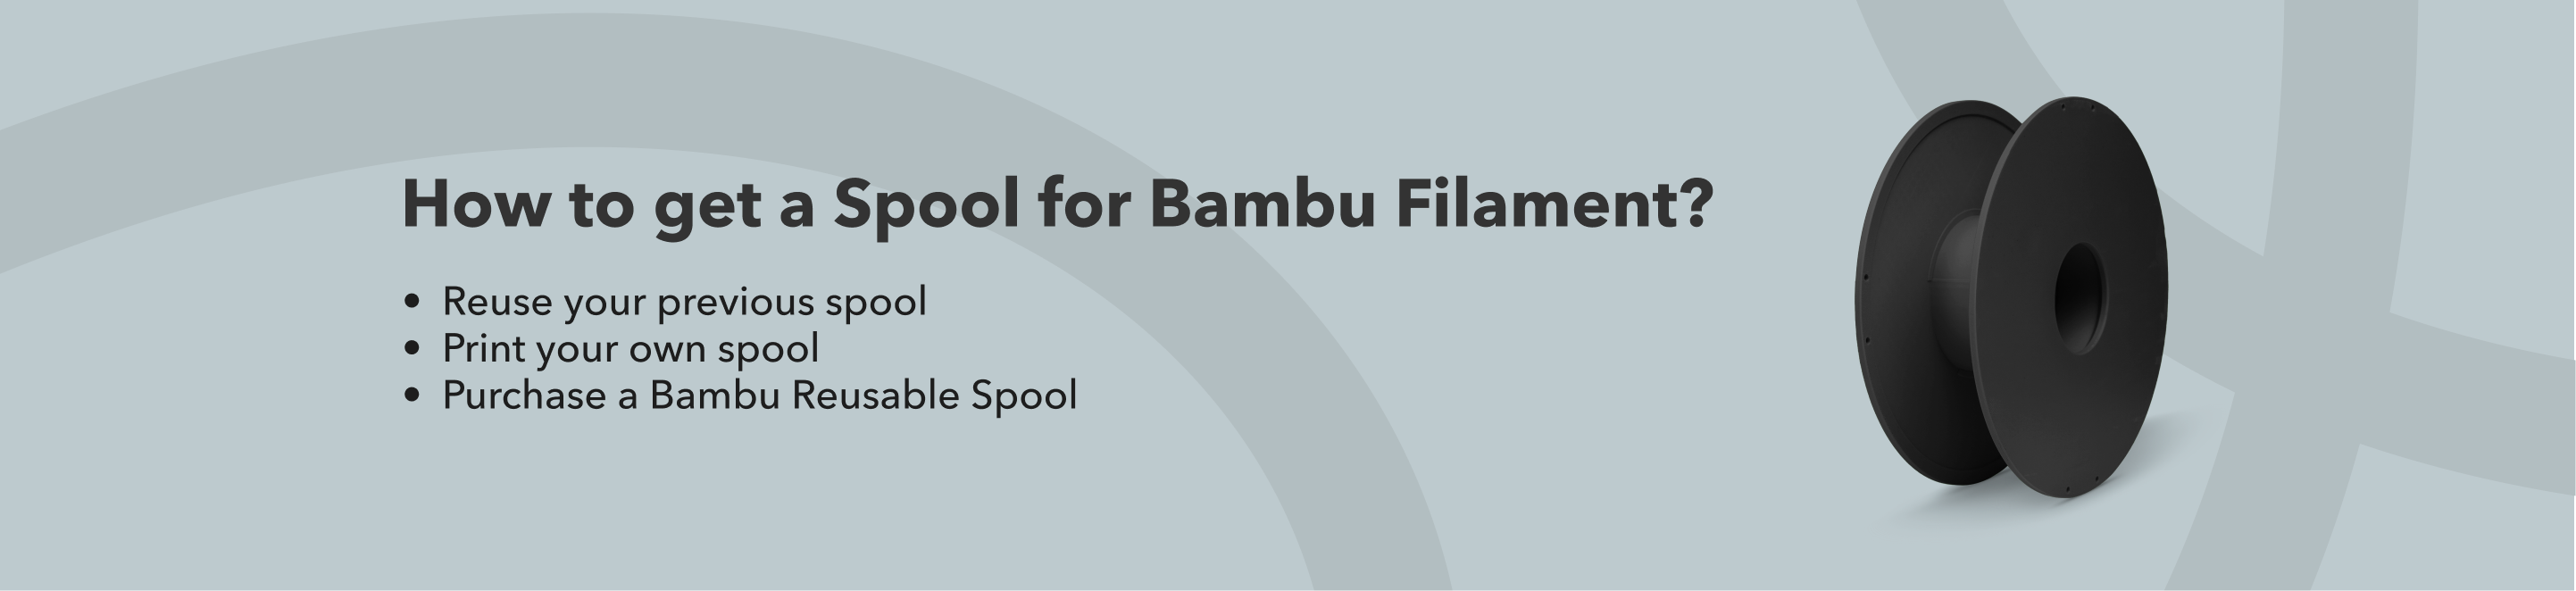
今すぐ自分のスプールをプリントしましょう
Bambu Lab 3Dプリンターにはスプールモデルが付属しています。ビルドインファイルからスプールパート1&2を印刷します!

こちらをクリックしてダウンロードしてください。
フィラメントスプールの使い方
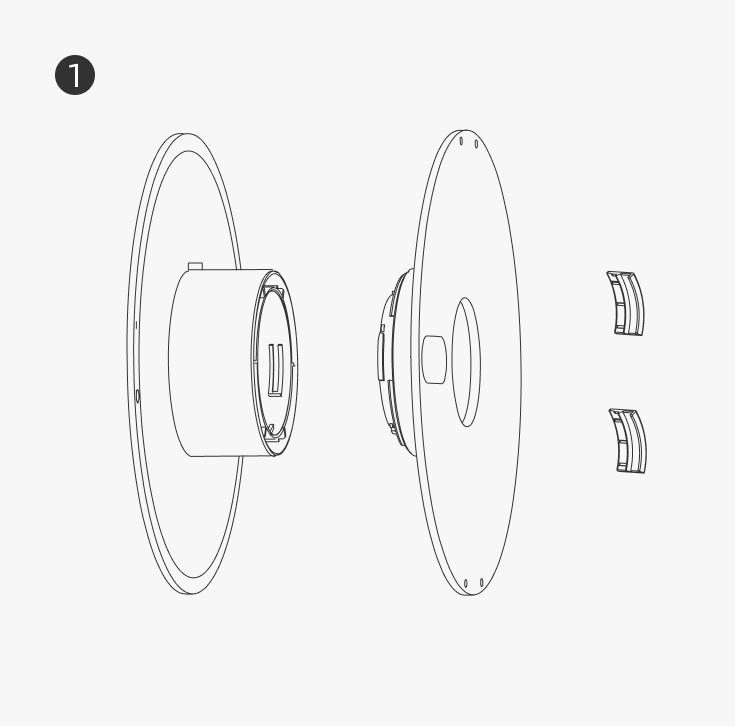
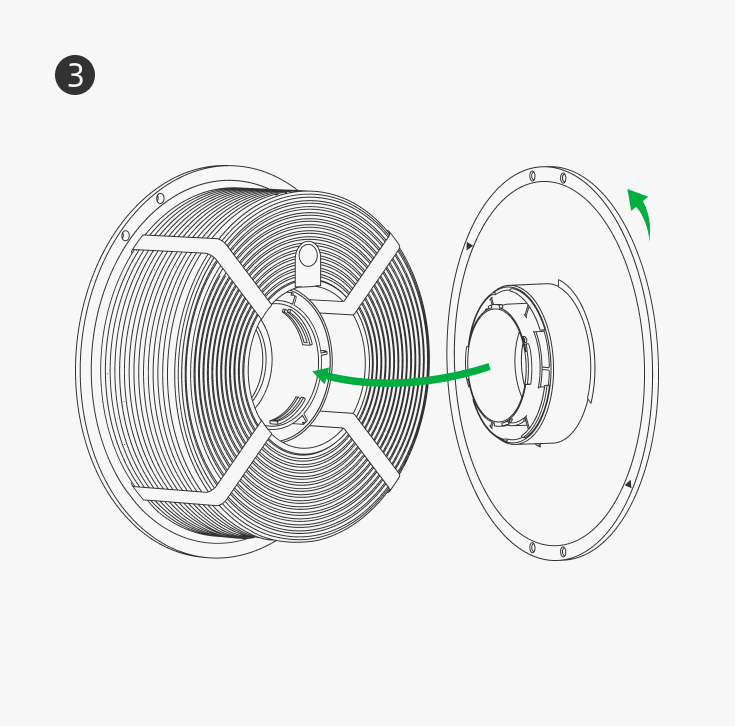
プリントが終わったら、幅の広いピース(1x)、幅の狭いピース(1x)、スペーシング・シム(2x)を用意します。

ロケーター(幅広の部分にある小さなブロック)を見つけます。それをフィラメントロールの内輪の切り欠きに合わせます。ワイドピースをフィラメントロールに挿入します。
Step 1. 幅の狭いピースを挿入し、それぞれのピースの溝をスプールの内側に合わせ、幅の広いピースにしっかりと押し込みます。
Step 2. 幅の広いピースにしっかりと押し込んだら、幅の狭いピースを時計回りに回転させ、所定の位置にスライドさせ、ロックする音を確認します。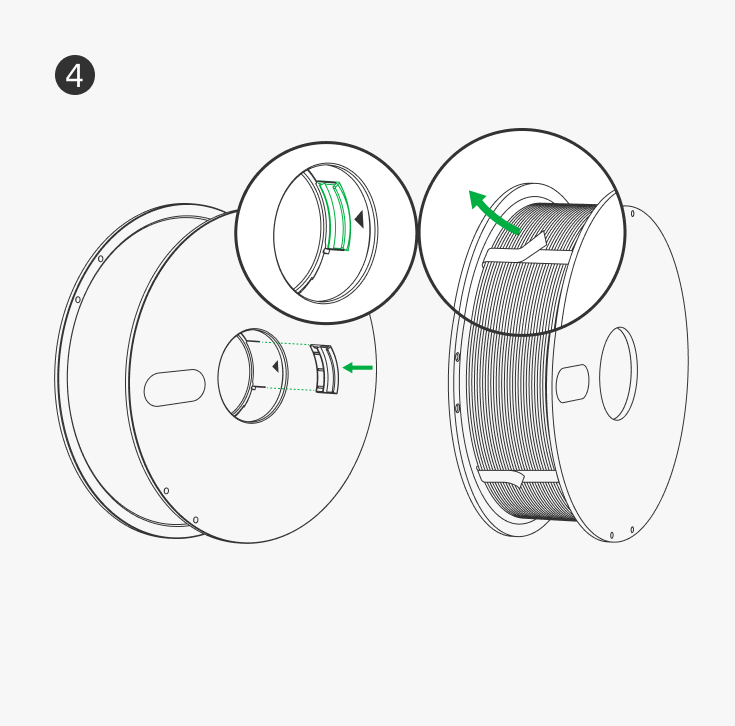
Step 1. スペーシングシムがスプールの内側(三角形の下)に取り付けられていることを確認してください。
Step 2. プラスチックストリップを引き裂き、引き抜きます。
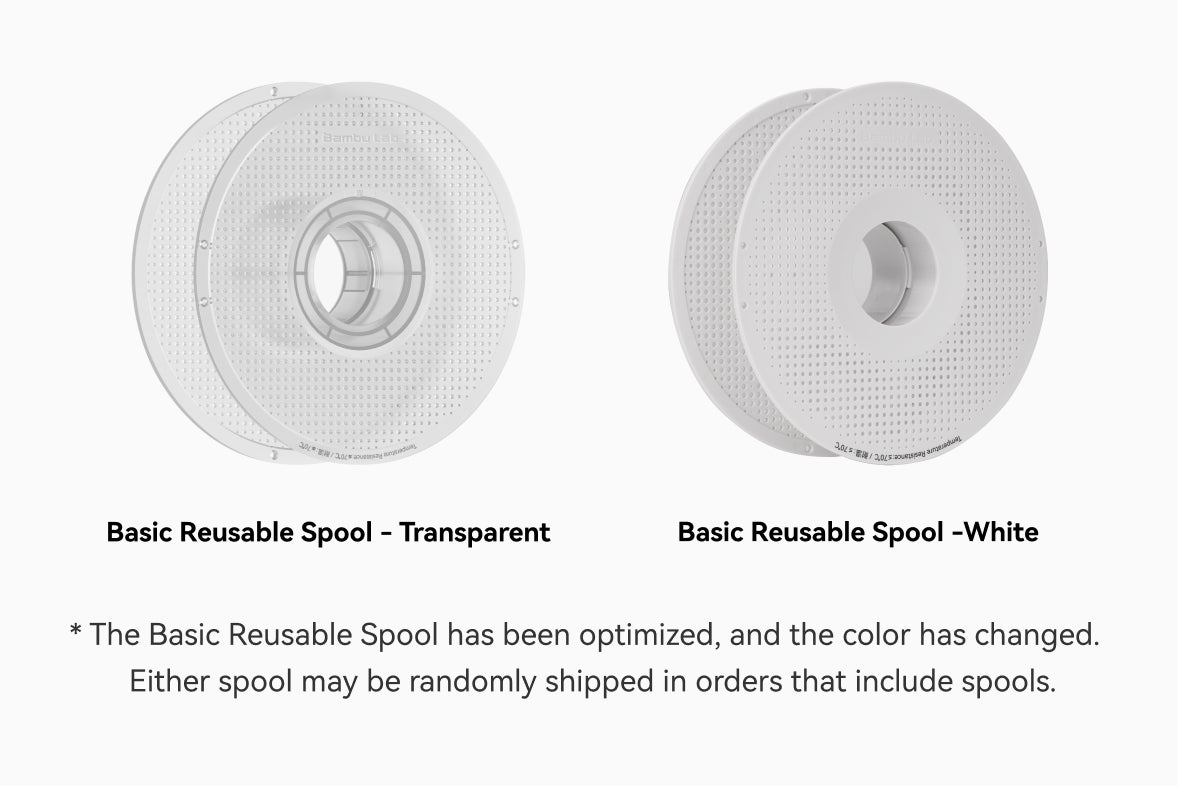
新しいフィラメントとBambu純正再利用可能なスプールの交換については、こちらをクリックしてください。
互換性
| 推奨 | 非推奨 | |
| 造形プレート | Cool Plate, High Temperature Plate or Textured PEI Plate | Engineering Plate |
| ホットエンド | All Size / Material | / |
| Glue | Bambu Liquid Glue Glue Stick |
/ |
PLA Matte Hex Code Table
| Color | Hex Code | Display |
| Ivory White | #FFFFFF | |
| Latte Brown | #D3B7A7 | |
| Ash Gray | #9B9EA0 | |
| Lilac Purple | #AE96D4 | |
| Sakura Pink | #E8AFCF | |
| Mandarin Orange | #F99963 | |
| Lemon Yellow | #F7D959 | |
| Scarlet Red | #DE4343 | |
| Dark Red | #BB3D43 | |
| Dark Brown | #7D6556 | |
| Dark Green | #68724D | |
| Grass Green | #61C680 | |
| Ice Blue | #A3D8E1 | |
| Marine Blue | #0078BF | |
| Dark Blue | #042F56 | |
| Charcoal | #000000 |
RFID for Intelligent Printing
All printing parameters are embedded in RFID, which can be read through our AMS (Automatic Material System).
Load and print! No more tedious setting steps.
| Recommended Printing Settings | |
| Drying Settings (Blast Drying Oven) | 55 °C,8 h |
| Printing and Keeping Container's Humidity | < 20% RH (Sealed, with Desiccant) |
| Nozzle Temperature | 190 - 230 °C |
| Bed Temperature (with Glue) | 35 - 45 °C |
| Printing Speed | < 300 mm/s |
| Physical Properties | |
| Density | 1.31 g/cm³ |
| Vicat Softening Temperature | 63 °C |
| Heat Deflection Temperature | 58 °C |
| Melting Temperature | 163 °C |
| Melt Index | 39.4 ± 3.2 g/10 min |
| Mechanical Properties | |
| Tensile Strength | 30 ± 5 MPa |
| Breaking Elongation Rate | 14.8 ± 4.2 % |
| Bending Modulus | 2360 ± 250 MPa |
| Bending Strength | 53 ± 6 MPa |
| Impact Strength | 19.2 ± 3.7 kJ/m² |
Printing Tips
• Drying PLA Matte is optional. Recommended drying condition is 55 ℃ for 8 hours in a blast drying oven, and 75 ℃ for 12 hours on printer's heatbed. Learn more about filament drying. Please refer to Filament drying cover on WIKI.
What's in the Box:
Filament*1 & Desiccant*1
Instructions*1 & Spool Sticker*1
Package*1
Filament Label*1
Print Your Own Spool Now
Bambu Lab 3D printer comes with a spool model. Print Spool Part 1&2 from the build-in files!
Instructions for Printed Spool
When you're finished printing, you will have a wide piece (1x), narrow piece (1x), spacing shim (2x).
Find the locator (a tiny block on the wide piece). Align it with the notch on the inner ring of the filament roll. Insert the wide piece into the filament roll.
Step 1. Insert the narrow piece and align the groove of each piece inside of the spool until it is pushed firmly into the wide piece.
Step 2. Once it is pushed firmly into the wide piece, rotate the narrow piece clockwise until it slides into place and you hear it lock.
Step 1. Make sure the spacing shim is installed inside the spool (under the triangle).
Step 2. Tear apart and pull out the plastic strips.